Nintendo Switch Repair, the game card cannot be read
How to replace the Nintendo Switch game cartridge reader for the ultimate repair to resolve Game Card Reading Issues.
This is a guide to replacing the actual cartridge reader. Try cleaning the back of the cartridge and trying different cartridges. Still, if it's not reading anything, it means someone rammed a cartridge or something else into the slot, and it needs to be replaced.
A previous blog provided all the details on opening the back of your Nintendo Switch and the tools you need; I've linked it <here>.
This guide will start with an open switch, and you should have a brand-new Nintendo Switch game cartridge reader. This Cardidge port and audio port repair is a service offered by https://optimisedcomputing.co.uk/
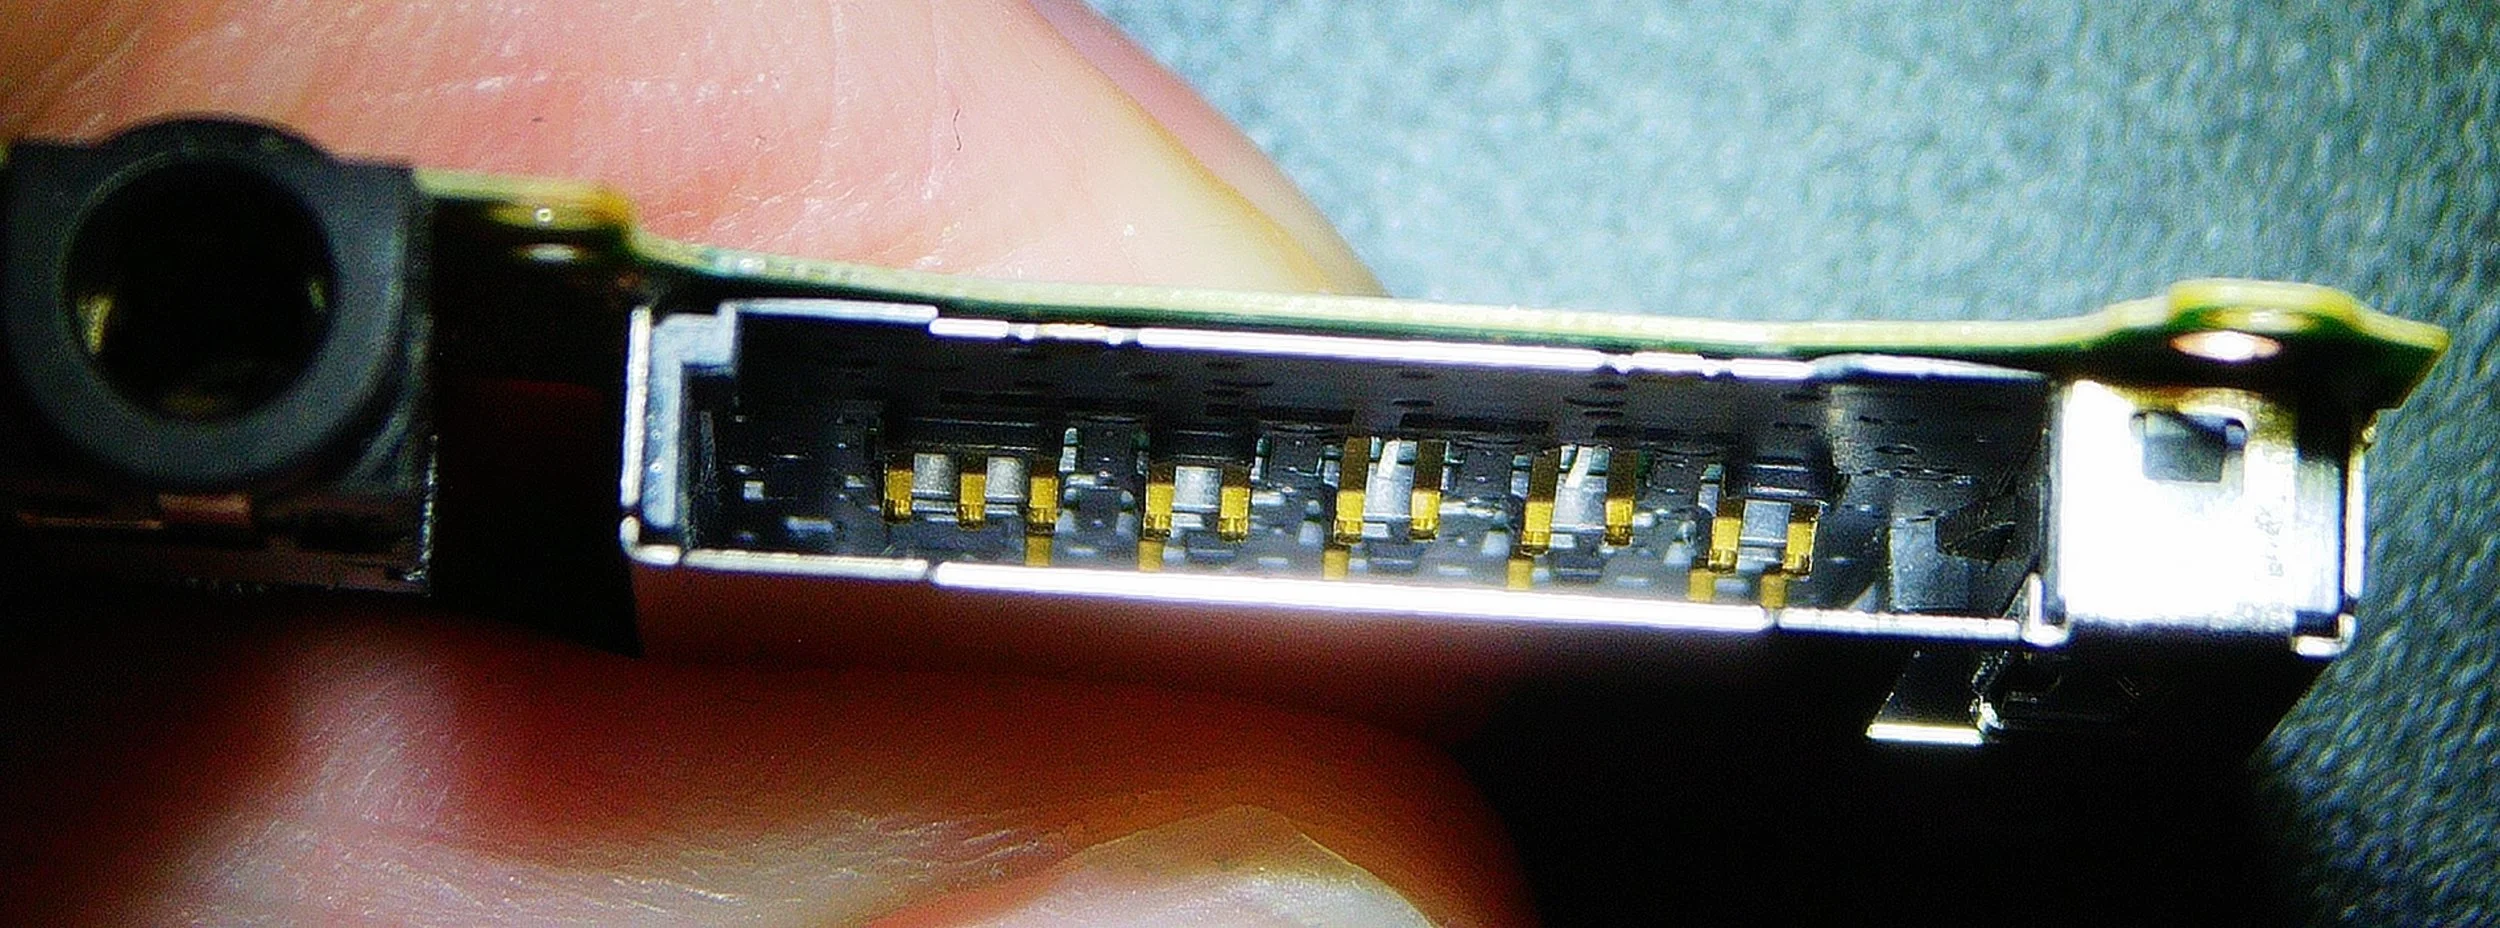
This is a known bad cartridge reader picture with the top removed. It's hard to see, but the pins bend upwards away from the top. In this case, the second row from the left has bent pins.

Bad Nintendo Switch Cartridge inside view
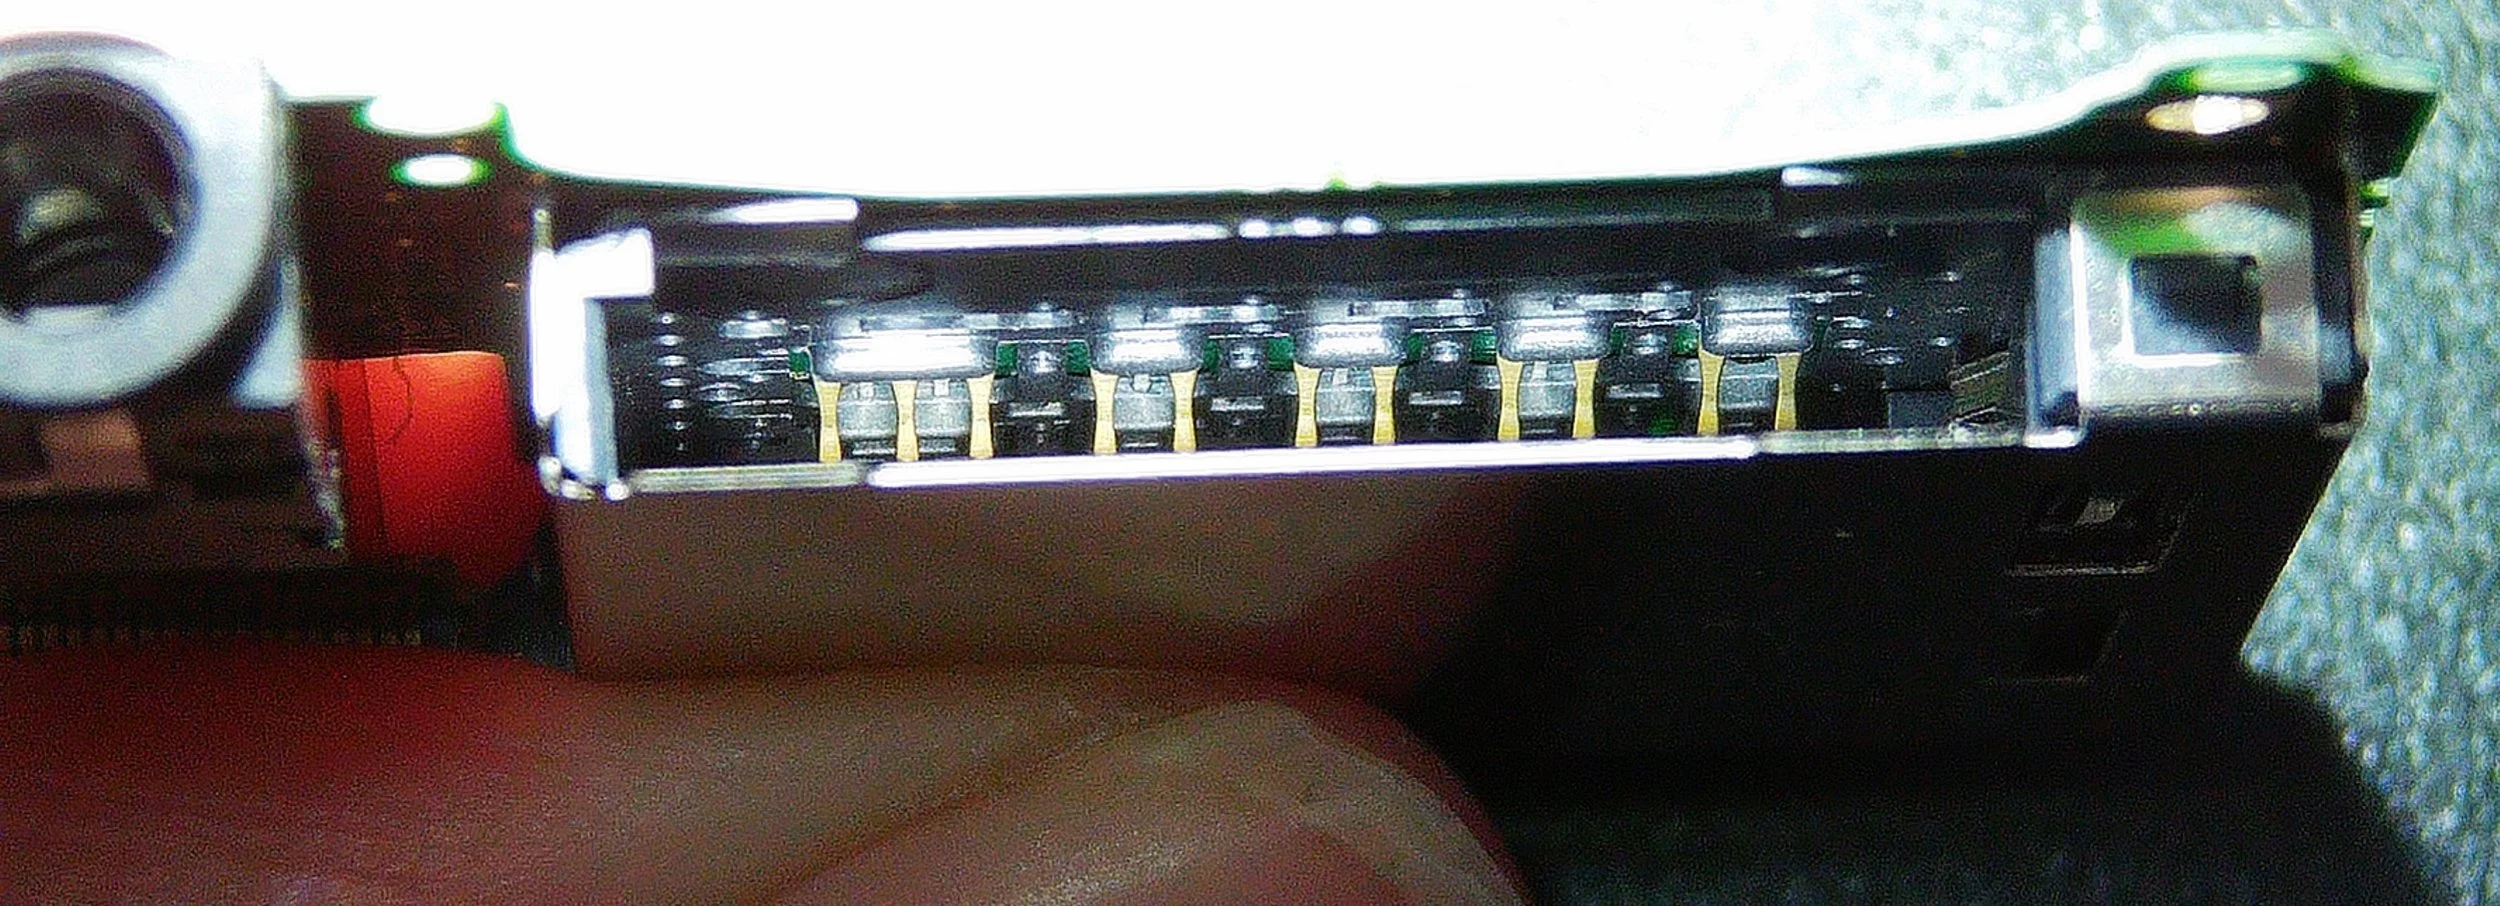
The bad cartridge reader is on top. It's hard to see, but compared to the new cartridge reader.
Top view of a damaged Nintendo Switch cartridge reade
This is the replacement good cartridge reader, which resolved the issue 100%
Steps to remove the current game cartridge reader
Step1, undo the 3 screws.

Scew and Connector Postion for Nintendo Switch Repair.
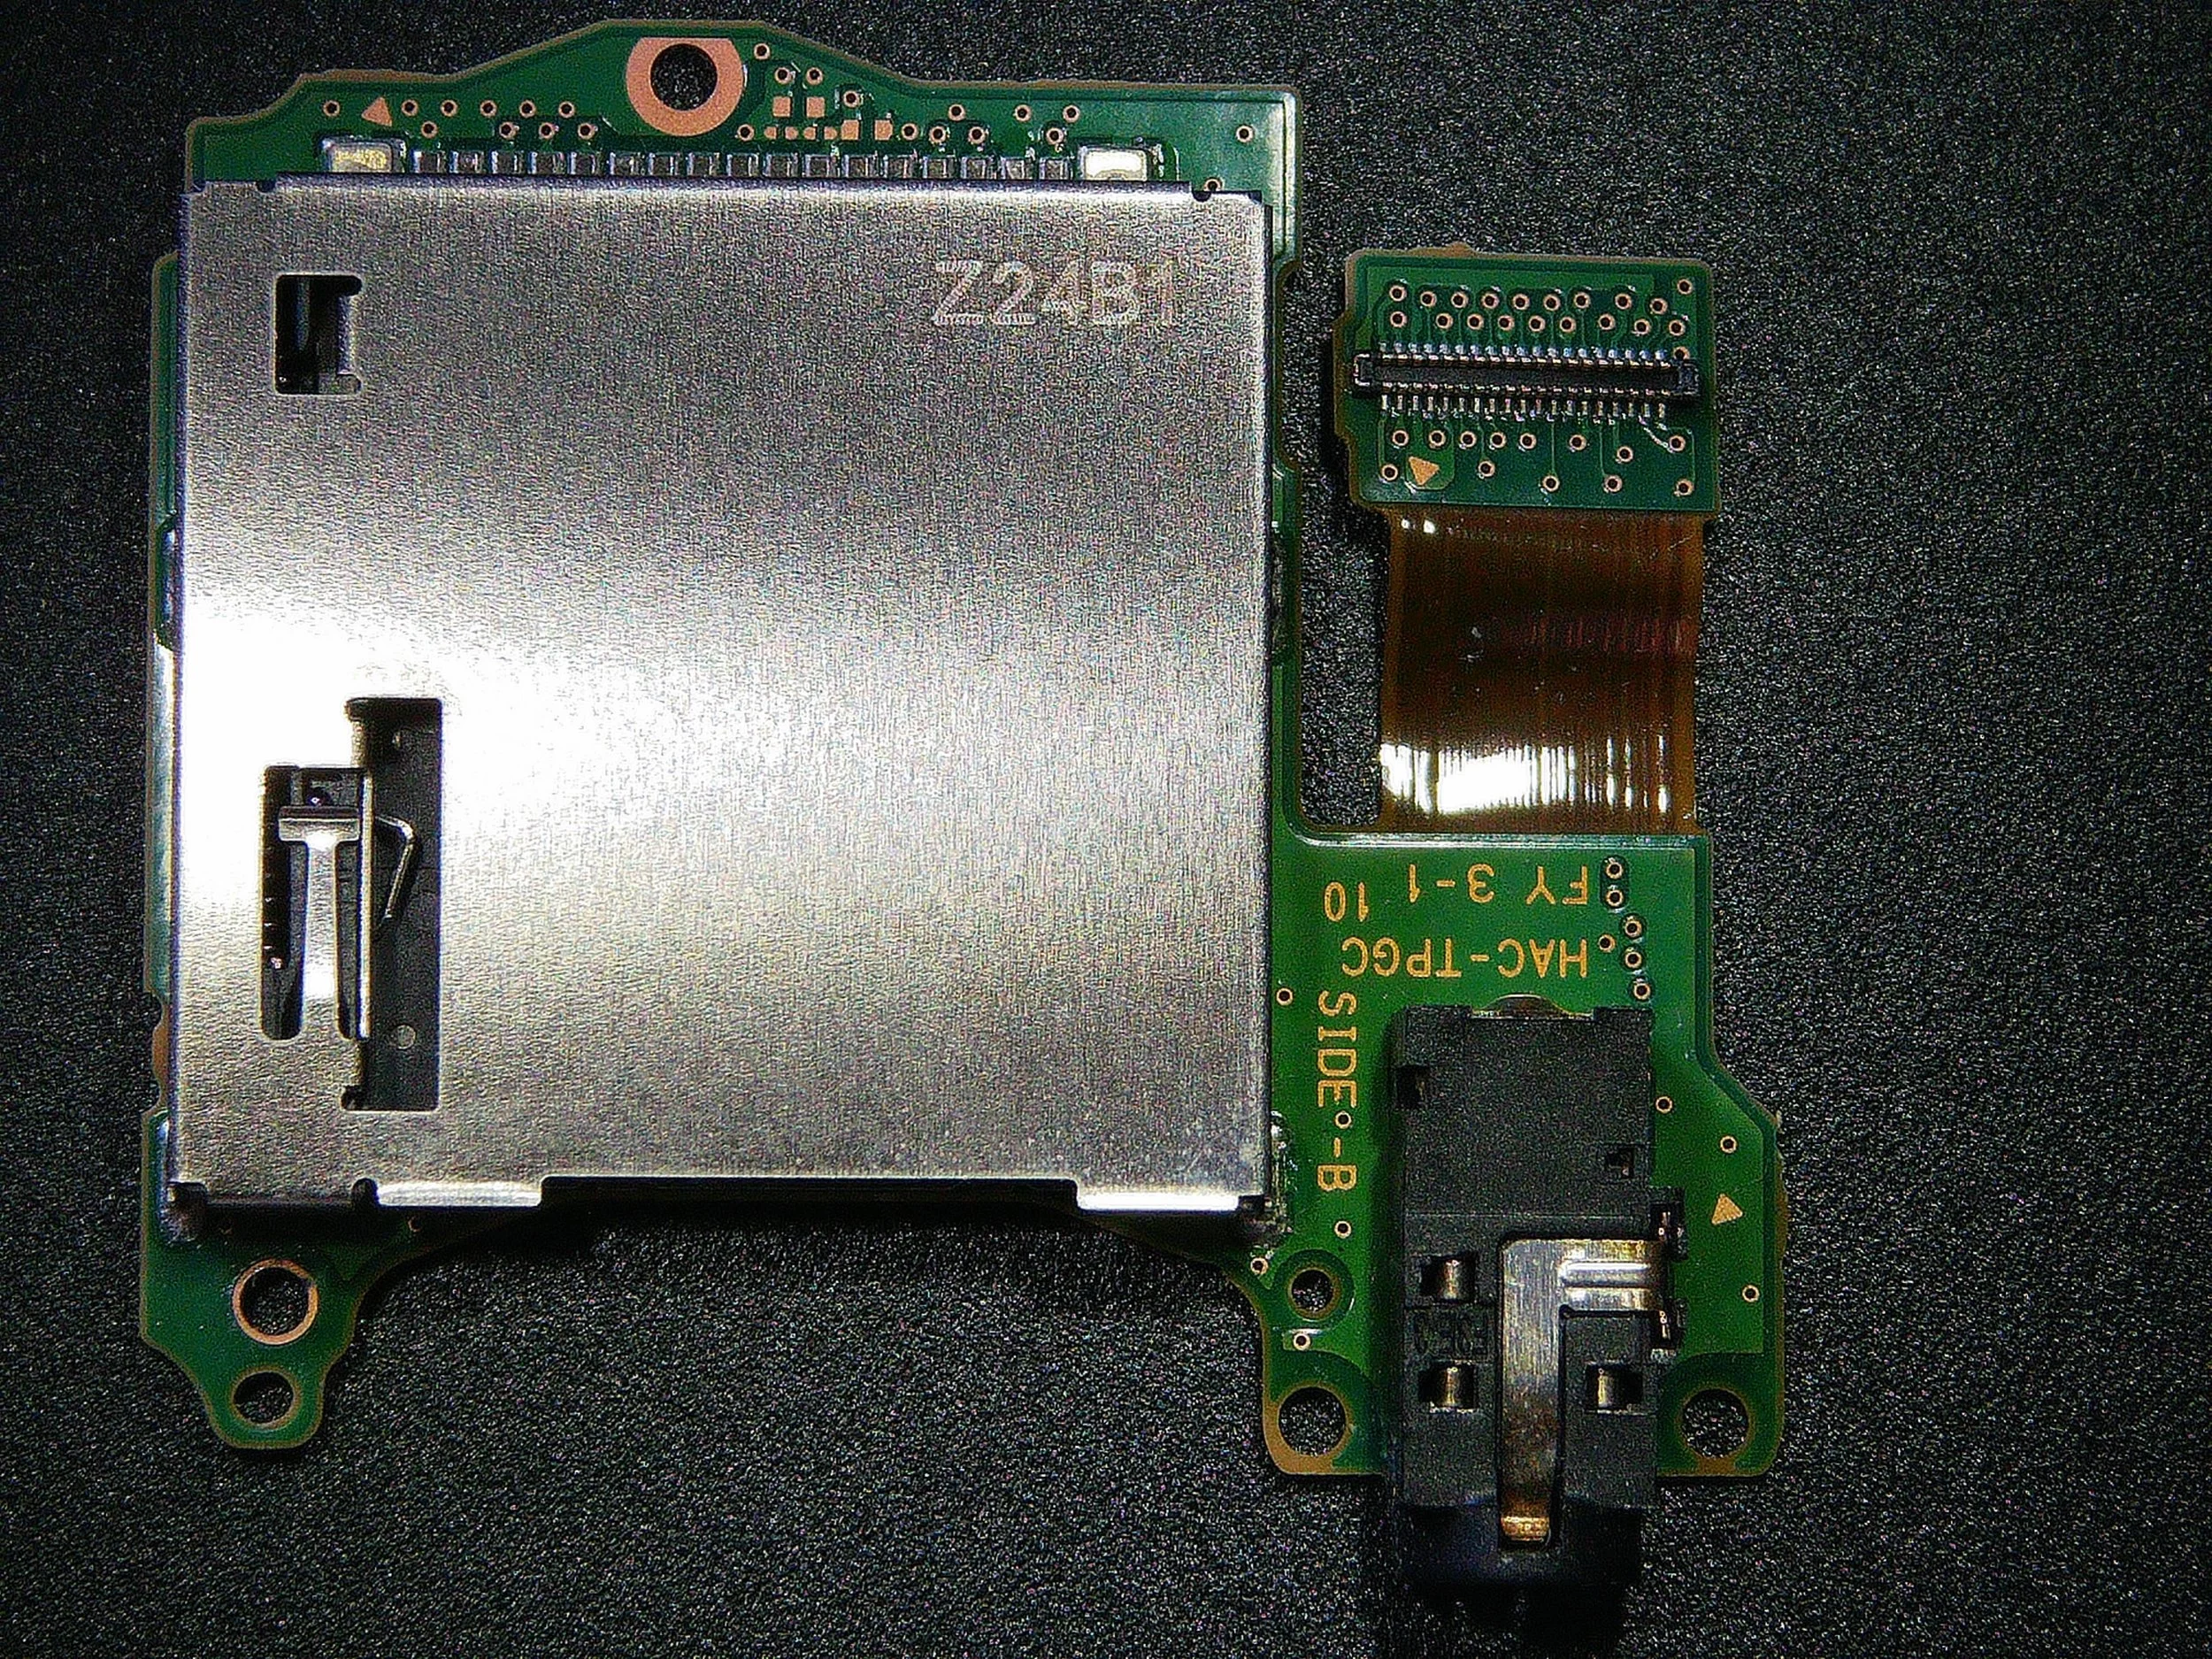
New Nintendo Switch Cartridge Reader/Port
Step 2: Lift the lever on the left side to release the ribbon cable. The right side is sitting on top of a connector.
Step 3, Removing the heat sink will give you more room is highly recommended.

Nintendo Switch Heatsink screw postions to remove
Recommended: Clean the ports and ribbon with isopropyl alcohol.
After fitting the new cartridge port, how to reassemble to fit a new cartridge reader in your Nintendo Switch.
Step 4, the connector under the thermal heat sink is best to connect 1st.
Step 5, Then add the ribbon cable and lower the fixing bar.
Step 6, Replace and fit the heat sink
Step 7, fix the 3 screws including the plastic brace for the audio port.
If you need any Nintendo Switch repair then please think about using https://optimisedcomputing.co.uk/